
You can also add subtitles to your screen, allowing participants to follow along without needing to scan the QR code. Instead, they can simply look at the screen, which helps them stay more present and engaged during the seminar.
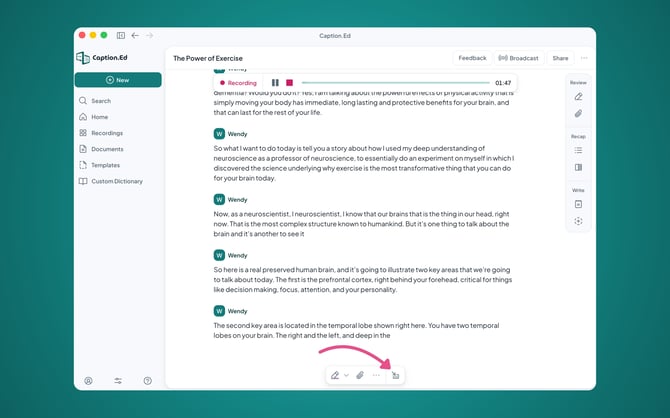
First, go to the live recording that you are broadcasting. At the bottom of the page, you will see an icon that looks like an arrow pointing into a box. Click on this icon, and the subtitles panel will open for you.
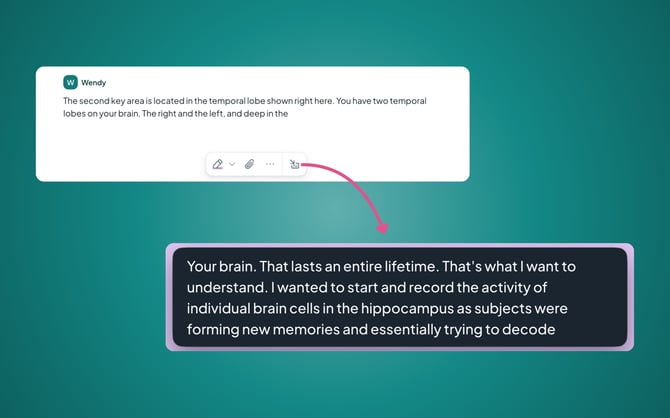
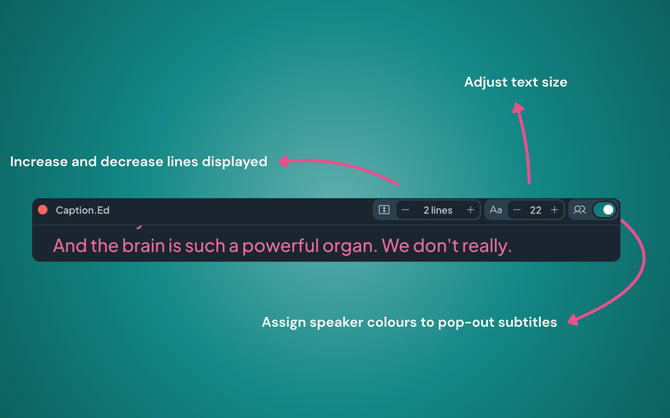
Once the subtitles panel has opened, you can customise the subtitles to suit your participants’ needs by hovering over the panel. You can increase the font size and choose how many lines of text are displayed on the screen, and assign speaker colours to indicate who is currently speaking. This helps ensure your broadcast is accessible to a wider range of participants:
You can change the assigned speaker colour at any time within Caption.Ed, and this will be represented within your pop-out subtitles.
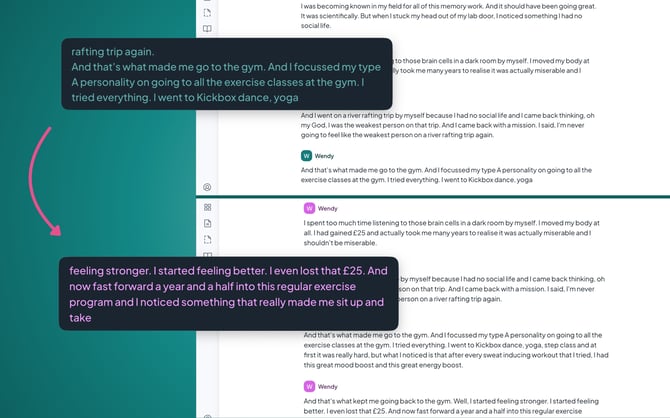
If you are presenting on the same device that you are running Caption.Ed on, your subtitles will remain at the top of your screen, even when sharing a presentation!
That's it! You now have live subtitles.
Please note: Subtitles are available on the newest desktop version 3.3.0 and above.